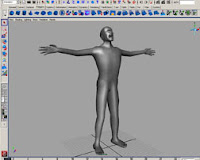
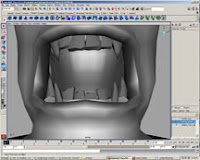
Finally, in the end after all the small details have been added, I began to apply the statuesque qualities rather than painting or attempting a mimic of life. A soft gray was chosen for the stone-feel with the texture minimum to none. The base was a simple cube manipulaed in Maya and imported into ZBrush.
The final touches to the model, as far as modeling and detailing is concerned, were to the face. While most prefer to complete this first and move on to the body in order to fit the face, I prefer to fit the face to the body. The job becomes much easier when you already know how much body-fat can be translated into the face rather than attempting to judge off such a small example as a head.
The creases at the corner of the mouth were bulked and stretched to giev an impression of absolute pain. The brow was lowered and cringed.
For the eye itself, i imported a simple sphere from Maya and used inflated/smooth/and ZSub for the appearance of a destroyed socket.
I used the inflate and smooth tools in an attempt to mimic the seepage of a collapsed eye.
After turning the head towards the right shoulder for counter-balance of the torso, I began shaping slight folds of skin on the back of the neck and upper shoulder in order to imitate the softness of the fatty tissue which overlapped the muscular build. The softness of skin over the iron of muscle.
After much consideration, I believe my model needed one last adjustment in the structural pose. My original intention was to cover his eye based on the natural instinct to clasp a wound...but that complicated too many things. While it would have made my job easier to hide the face, I would have also lost the main point and ability to express the situation.
I stretched his right arm towards the sky, fingers stretching and almost longing for touch. The mere form of the hand and fingers can express much more than most may understand. "The Creation of Man" within the Sistine Chapel is the perfect example of my point.


